Showing posts with label Martha Stewart. Show all posts

Sunday, October 17, 2010

Inspired Crafts DT share

Hi All! Well I am back from holidays (gosh Broome was FABULOUS!!!) and I have ooooodles of photos to scrap. First though, I would love to share some great news with you – I was recently accepted onto the Inspired Crafts Design Team! YAY!! - along with Jane, Tracey, Amie, Kaye, Anita and Mandy - all fabulous and inpiring scrappers. Inspired Crafts is a local brick n tile scrap store here in WA...click the linky on the pic in my sidebar to visit their facebook page. Here are my creations from my first kit... a layout and some cards.

The Layout: Young Beautiful Free
Young Beautiful Free - this is a pic of my eldest daughter and her friend having a picnic tea on our front lawn on Boxing Day 2008.

Materials used from kit:
• American Craft papers Blue Skies – Good Vibrations, One Fine Day, Walking on Sunshine
• My Little shoe box mini alpha stickers
• Kaiser rhinestones mixed square – orange
• American Crafts Blue Skies Fieldhouse glitter flower

Extra materials:
• White cardstock
• Prima say it with crystals flower colourful
• Doodlebug design cardstock alpha stickers Loopy Lou


Don't you just love these Prima Say it With Crystals flowers?


And now the cards made with the kit leftovers...

Live Laugh Love trio cards
Materials used from kit:
• American Crafts Papers Blue Skies – Good Vibrations, One Fine Day, Walking on Sunshine
• Bazzill cardstock – bling lip gloss, sandbox, lagoon, London fog
• American Crafts blue skies ribbon – white satin with tree print

Extra Materials:
• Carolees Creations Adorn It Tiny Pink alpha stickers
• White ink

Happy Birthday Banner Card
Materials used from kit:
• American Craft Papers Blue Skies – walking on sunshine, one fine day
• Bazzill cardstock – lagoon
• My little shoe box mini alpha letter stickers – brownie

Extra Materials:
• Doodlebug design cardstock alpha stickers Loopy Lou
• Tea dye distress ink
• String


Adore Flower Card
Materials Used From Kit:
• American Crafts Blue Skies Paper – one fine day
• Bazzill cardstock – London fog
• American Crafts Blue Skies ribbon – Caribbean satin with velvet edges
• American crafts blue skies flair badges – so fun
• Bazzill paper flowers 3in gerbera – creamsicle

Extra Materials:
• Carolees Creations Adorn It Tiny Whoopsy Teal alpha stickers
• Martha Stewart deep edge lace punch


Hope you like my new stuff! Will be back with some piccies of Broome AND our two new beagle puppies :)

Thursday, April 22, 2010

Relaxing...

Ahhh relaxing -NOT!!! Hear that *thump* thump* thump* sound? That's me frantically running through this week with my hair flying about in all directions! Just trying to get some direction going this week has been a challenge. So I made a big long list...so I am now up to the list point: Blog entry for My 2 Angels April DT Tutorial Project...so here it is.. (check).
Firstly, here is the page I did for the Colouring Chipboard Using Inks Tutorial (clicky here if you wish to see the tutorial). It's called Relaxing.

This Layout is one of myself and Wendy drinking some Midori cocktails that my wonderful husband made for us on Boxing Day. It was such a lovely day - warm weather and good company and great cocktails!!


The gorgeous Bo Bunny paper was just too beautiful to cut ink or tear so I left it whole and used it as a main focus. I inked the buzz and bloom chipboard piece and finished it with a touch of Rock Candy distress stickles. I couldn't resist the fabulous new Twinklets Diamond Dust so I applied glue to the bottom half of the title and dusted with twinklets.

What I used:
Papers: Bo Bunny Sophie's Notebook, Autumn Leaves Sweet Whispers
Title and Journalling: AC Thickers - Jewelry Box, Carolee's Creations Adorn It tiny black.
Embellishments: buzz and bloom chipboard - arboretum: up the garden path, doodlebug braddies jubilee butterflies
Materials: Twinklets Diamond Dust, Distress Stickles Clear Rock Candy, Versacolour inks
Tools: machine stitching, Martha Stewart border & corner punches - Loopy.

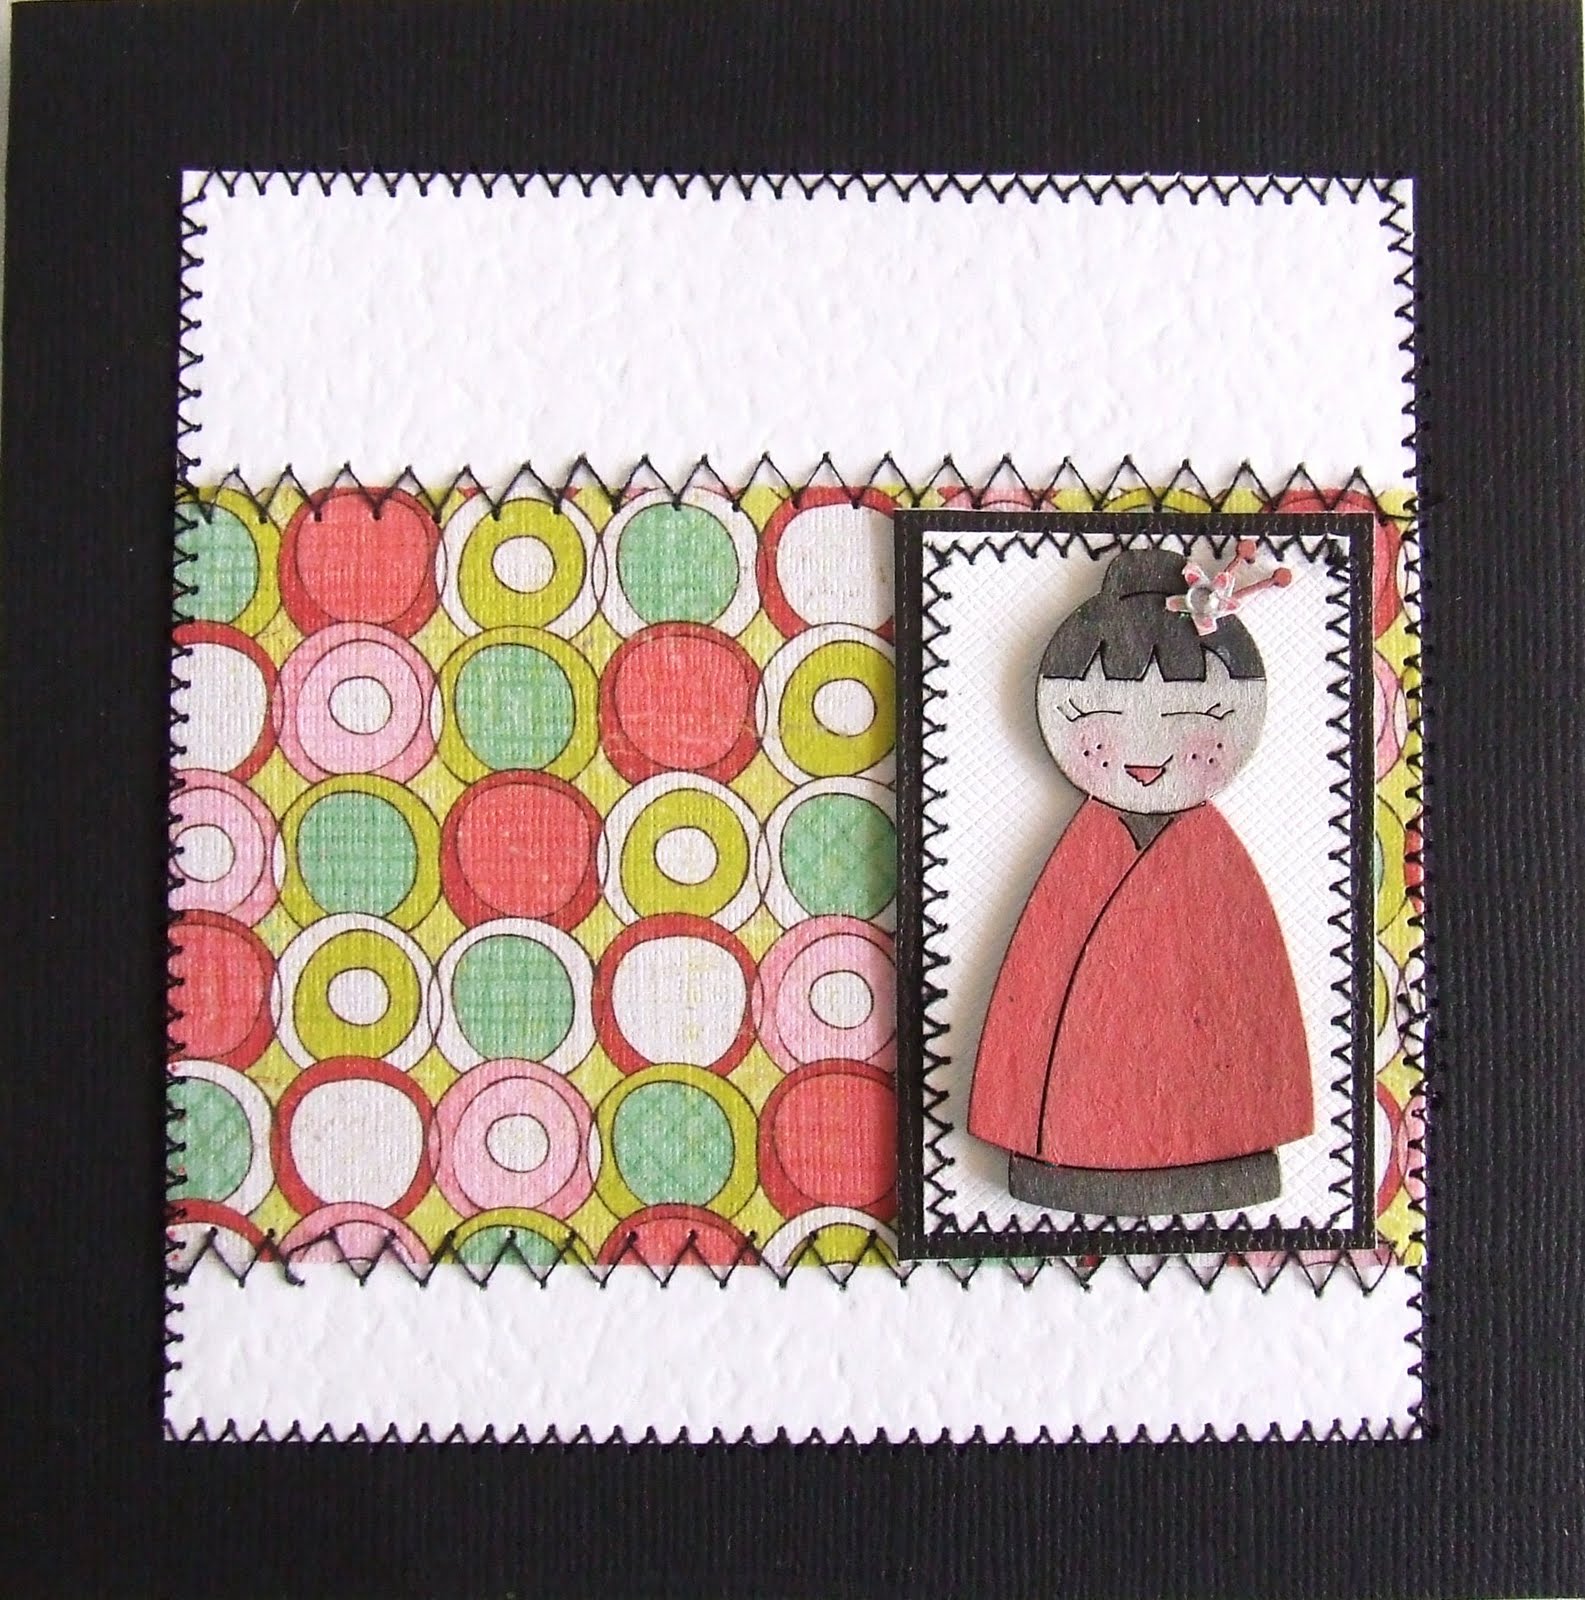
And here is a cute little card I did for the Colouring Chipboard with Watercolour Paints tutorial (clicky here to see that one...)

What I Used:
Scrapware Geisha Girls chipboard
Watercolour Pencils
Crate Paper Paper Doll Lizzie paper
Black and white Cardstock
My trusting little sewing machine.


Hope you like these tutorials! They were certainly fun doing them!

Stay tuned as I will be back in a couple of days with a sneak peek of my next card class I will be teaching in May....

AND a big HAPPY BIRTHDAY to our gorgeous little Ben.... he turns 7 tomorrow...*sigh* my baby is growing so so fast!!

Ciao Lovelies!

Hugs C x.

Monday, January 18, 2010

Take one flower hairclip.....

....and rip it apart!!! I am beginning to think I am a little nasty to my scrap bits and pieces sometimes. Anywhoo this is what I did, in fact, do. I had these beautiful photos of my daughter taken when she did an arty photo shoot. And I really wanted a kind of whimsical feel to the page....then I saw this icy blue organza flower hairclip in my hair stash (yes I have all sorts of stashes LOL) and thought....hmmmm...I have this gorgeous piece of Imaginisce paper that I haven't had the heart to use yet (too pretty to cut) and this hairclip is fabulous.... anyway..I based the layout on sketch 39 on Inspired Blueprints January sketch challenges...here is the result.


The flower detail can be a little hard to see so here is a different view:


The dragonfly is an iron on patch that I stuck onto black card then cut around - I did this to give it a little more stiffness to make the wings more 3-D. The flourish is a twiddleybitz border flourish that I inked and embossed with a pyschedelic sparkle powder. The scallop border was cut using a sizzix scallop border die out of coredinations black magic cauldron cardstock (black on the outside blue hidden inside until you distress it). The title is a combination of Adorn It lettering, and quickutz dies - Central Park and Uptown Girl.

Close up of flourish detail:


AND, of course, the omnipresent card made out of the leftovers:


The edge of the card was cut using a Martha Stewart border punch. The flourish is a quickutz flourish border die and the ostrich fibre peeking out from under the imaginisce paper was EXTREMELY fiddley and frustrating to glue in there !!!!

Thank you all so much for the lovin' and congrats on my Angel Design Team spot. *mwah*

Hugs Cx
Related Posts with Thumbnails